
And I feel that time’s a wasted go
If you aren’t using Google Forms, it’s time to up your game and this post may help inspire you to give it a try. If you are using Forms regularly or at least frequently, this post is for you too. Although Forms can help you quickly and easily gather data and artifacts for assessing student learning, this post isn’t really about that. My focus here is more on the aesthetics of those Forms. I have made plenty of Google Forms without thinking about what they look like, and while formatting those Google Forms will not make them more pedagogically sound, it can help you locate them quickly by thumbnails when your Drive is not full of default purple. It can also help you engage your learners in your Form, but mostly, it can be fun for you to create.
So where you going to tomorrow?
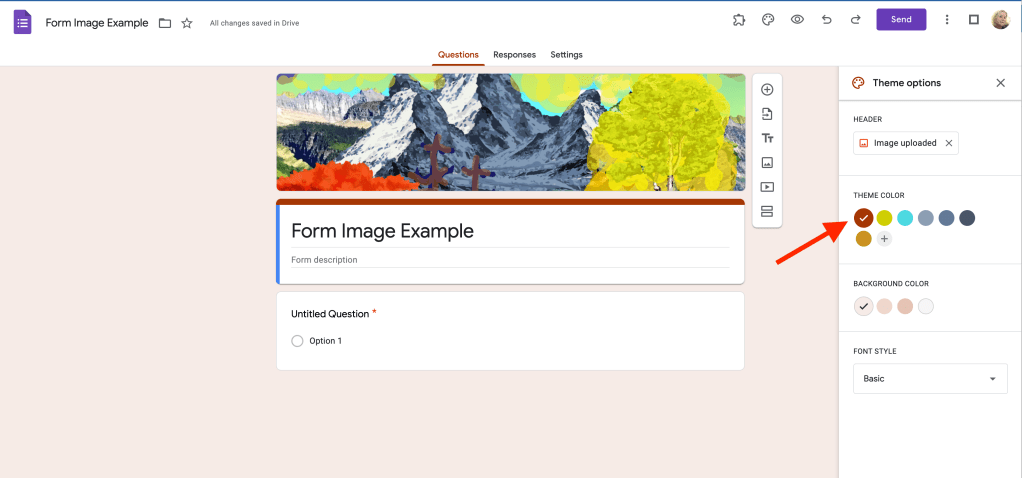
The great thing about Google tools is their ability to adapt to colors used in your image to create a color pallet that complements it. Okay, sure, maybe you had already noticed that, but take a moment to appreciate Google’s efforts to make it easier on us. Now the fun starts. If you are already making graphics for various purposes for your students or other personal/professional reasons, then you don’t really need to make original ones for the headers of your Google Forms. You can just use the top, bottom, or middle sections of graphics you have already created. I love finding multiple uses for, well, anything and everything, so why I hadn’t thought of this sooner is a puzzler.
And I see that these are lies to come
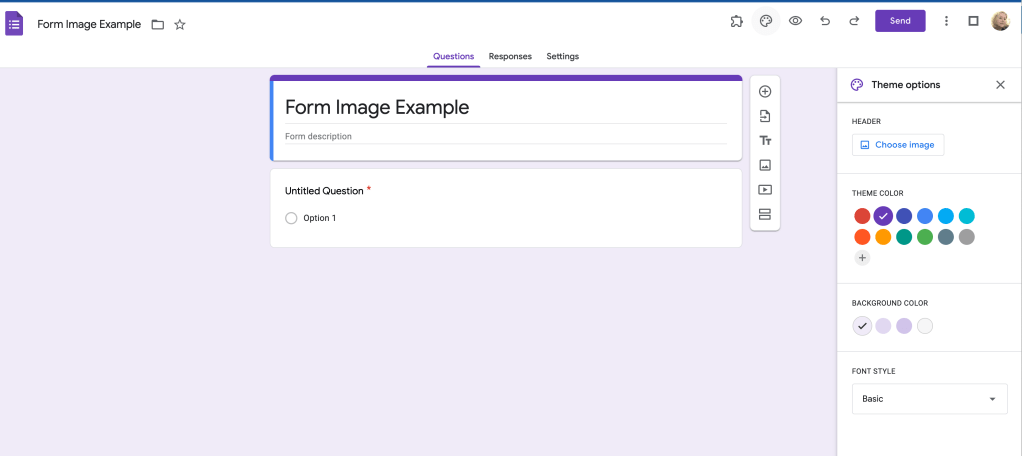
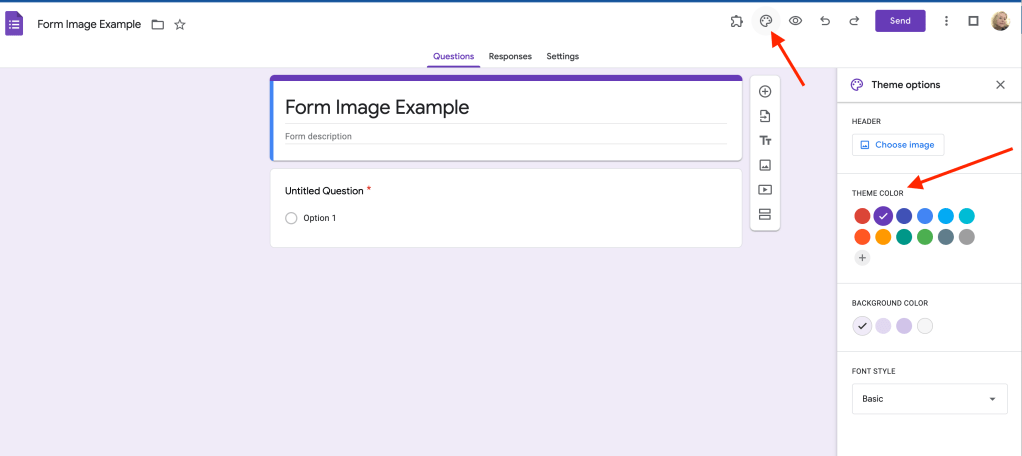
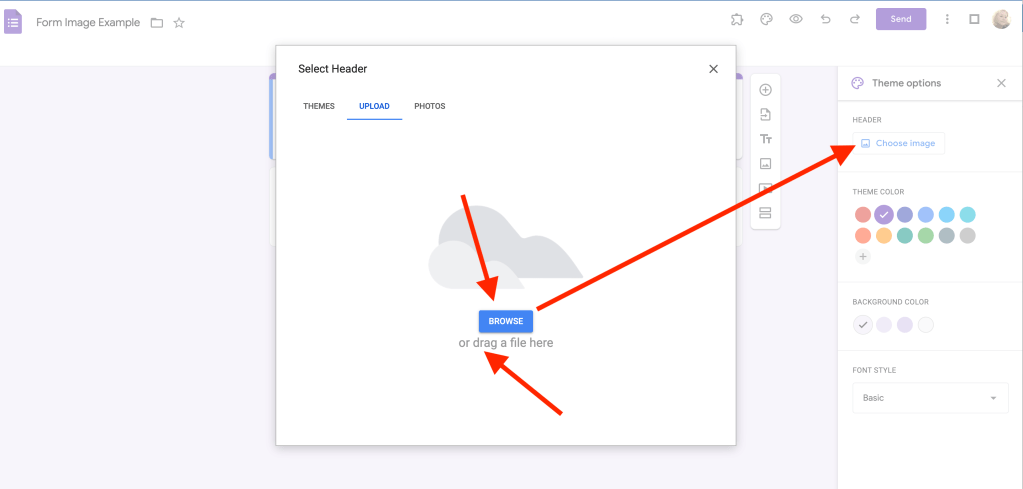
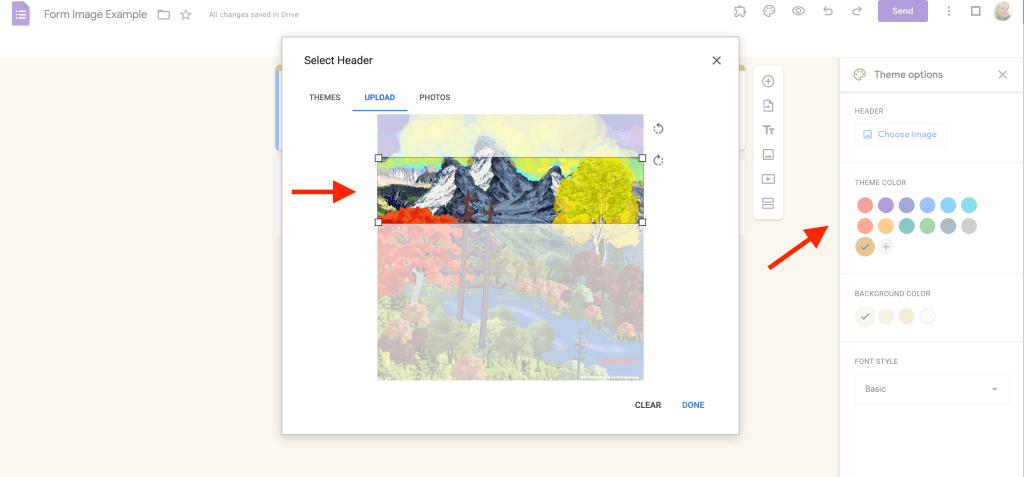
When creating your new form, first click on the “customize theme” icon which looks like a pallet with paint. Next, click on “chose image,” and then stroll through your images, created images or photos to choose one that has a section that will work for your form. Once you do this, check the “theme color” pallet because it will have adapted to suit the image you chose. This is my favorite part!
Would you even care?
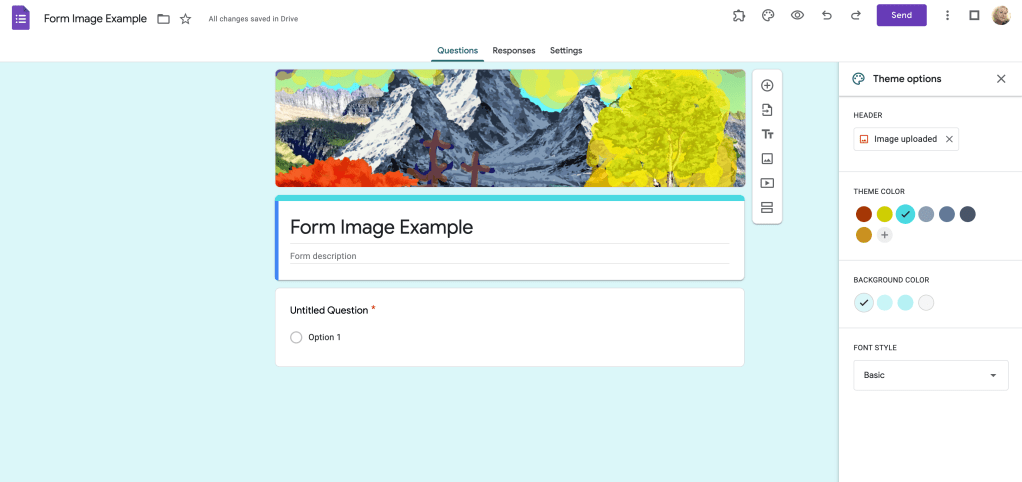
Voilá! You have beautiful form! Or at least an interesting one, and also a form that is easy to distinguish from your other forms within your drive. I hope this has saved you a bit of time by not having to create from scratch and maybe provided you with some creative fun as well.
