
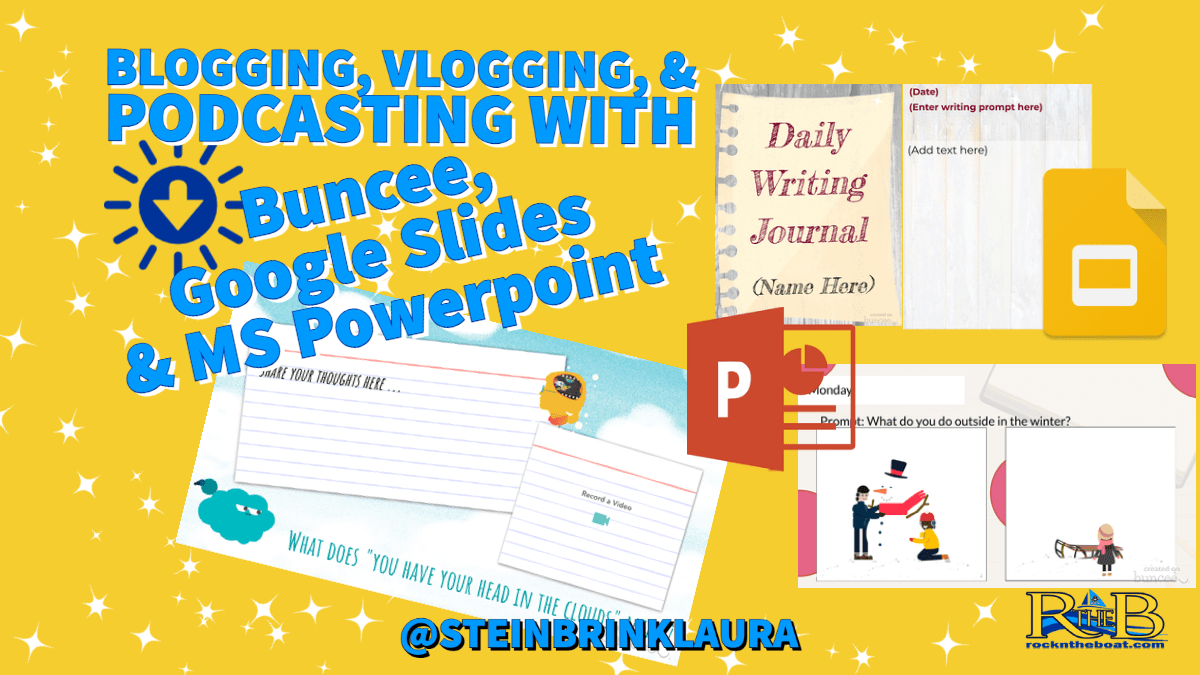
Right now, you are thinking I could be a bit off-center or right on target for talking about blogging with littles, but hear me out. Even if your students can’t write or type yet, they can respond to a prompt with visuals, clipart, or drawings. You can do that without any setup or prep when using Buncee, but if you don’t have an account, then Slides or Powerpoint make good free options with a bit of work upfront. Whichever tool you choose to use, giving students another way to share their voices and ideas is always the right thing to do.
I’m gonna make a change
Buncee
Buncee, like Slides and Powerpoint, is a flexible creative tool that does presentations, among other things. But unlike Slides and Powerpoint, Buncee has a wealth of clipart, called stickers, built right into the platform. But wait! There’s more! If you want students who can’t write to vlog or podcast instead, Buncee has built-in video and audio recording functions too, allowing them to place that on the slide/post without going out of the platform. What’s a vlog, you might ask? It’s a video blog, and that’s an easy way for students to explain their own thinking or give their opinions about any prompt that you give them, or giving them free rein to explore their own topics, depending on your students and your comfort level. Buncee also already has templates built-in for student writing, so you just need to adjust it to suit your needs. With all of the fun and educational backgrounds and templates, you can create your own template for students to use or let them create their own as well. The other nice thing about Buncee is that with a classroom account, it operates as the LMS (Learning Management System) as well. You can make the assignments from within Buncee, add a Buncee template for the students to start with, and then the student Buncees will automagically appear on the assignments page.
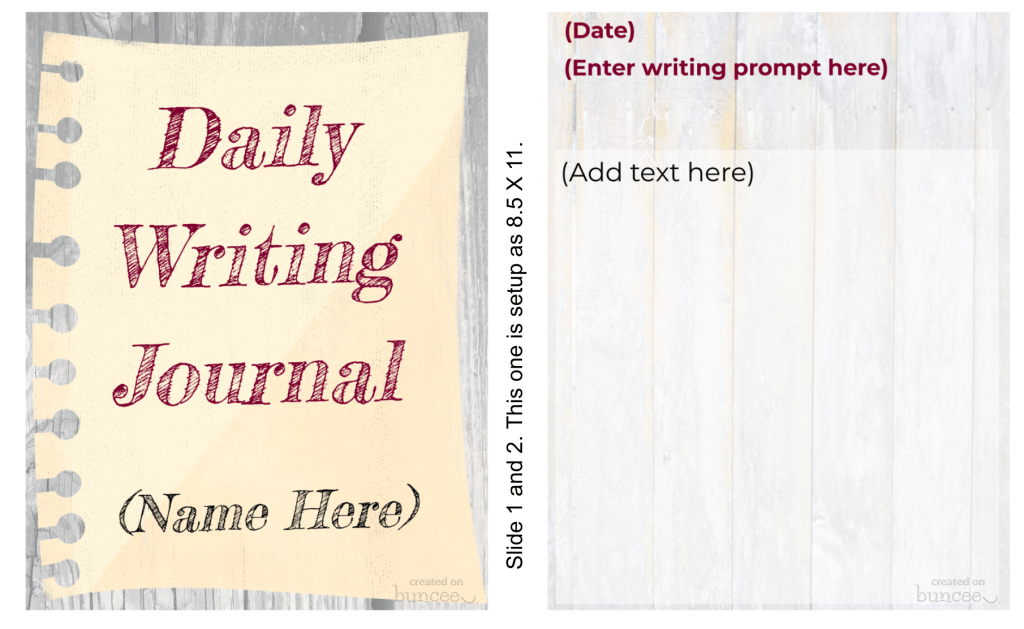
Buncee offers a wide variety of sizes for the journals / blogs. Choose the one that works best for your students.

To create a vlog or podcast within Buncee, the tools are built right into the platform too, so that makes it very easy for students to share their voice.
For once in my life
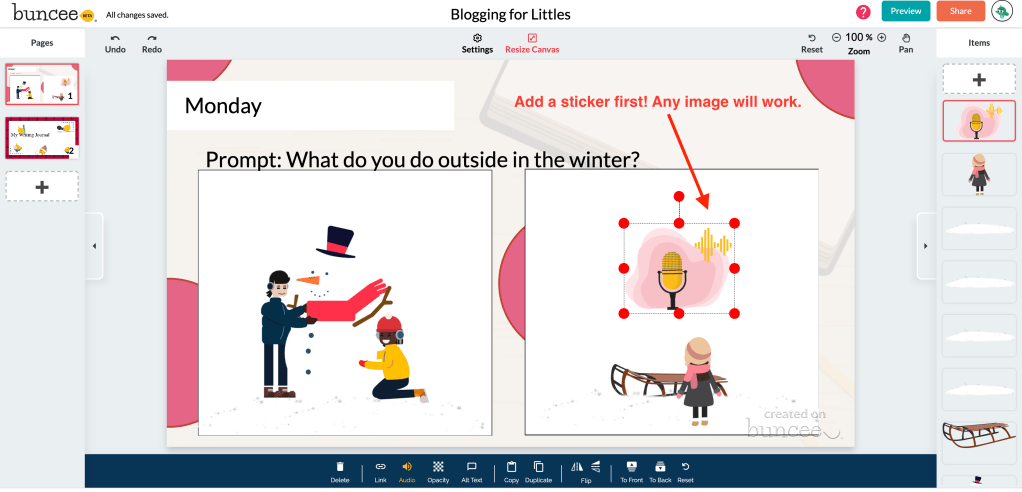
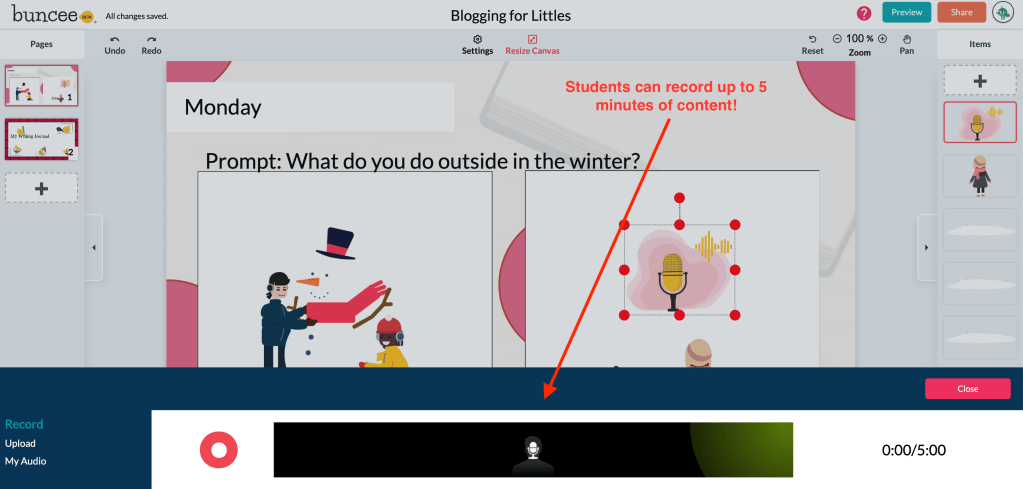
From the template or presentation the student is using for their blog, they add a sticker (image) and place it in the area where the response to the prompt would go. When they click on it after place it, the audio option appears at the bottom of the screen in the tool bar.
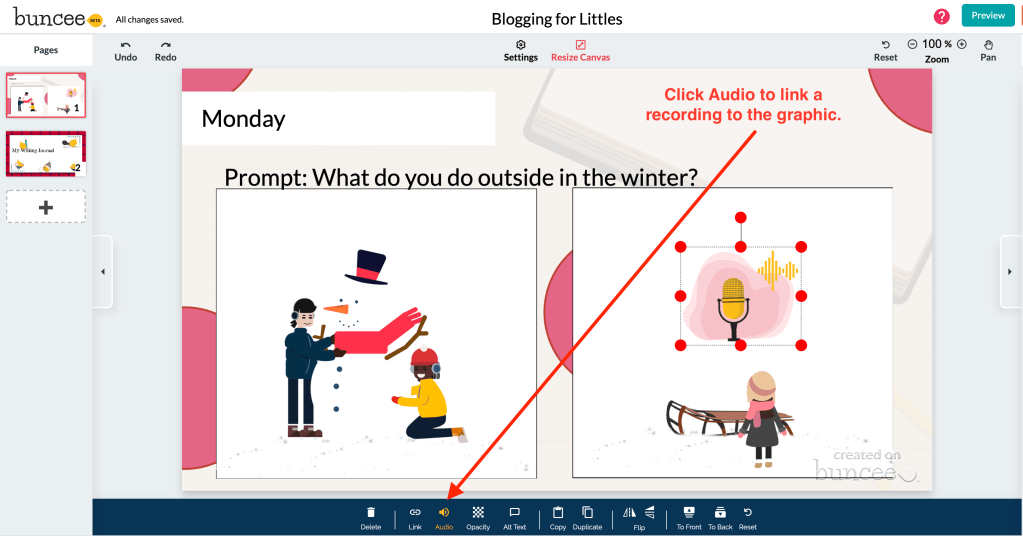
Then students are ready to record their podcast. They can talk for up to 5 minutes from within the Buncee platform per image to which they link audio.
Vlogging with Buncee is even easier! Students click the plus to add content, and instead of choosing a sticker or text, they can select video.
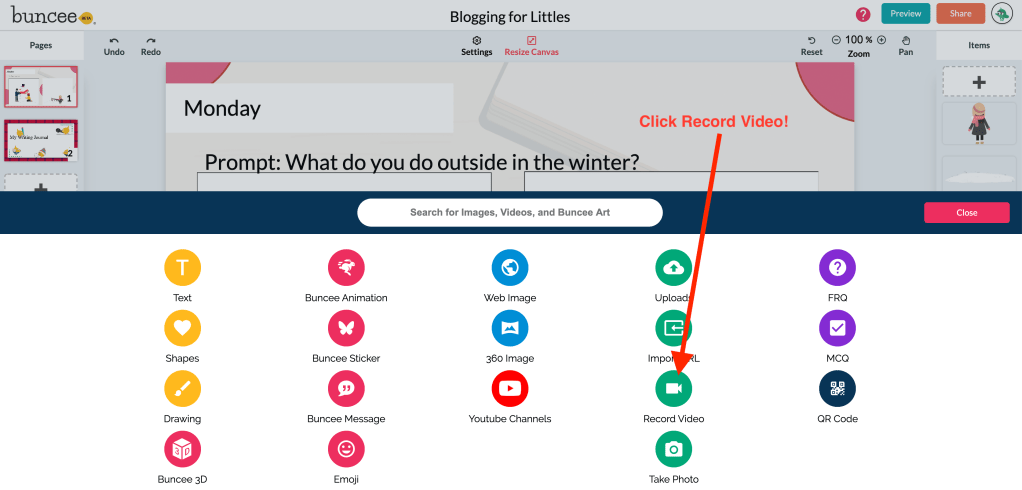
The recording tool will automatically load, and students can record their vlog segment and add to the slide.

It’s gonna feel real good
Google Slides and Microsoft Powerpoint are two other platforms that you can use with littles to blog, vlog, or podcast, though the steps will look a bit different from Buncee. The video and audio can be recorded via Flipgrid, then inserted onto their Powerpoint or Slides presentation slide for that day’s vlog/podcast segment. Flipgrid is free and will allow students to record and download videos or audio files.

Gonna make a difference
If students want to create the video, then that’s all they have to do to get started. The video can be up to 10 minutes long, but you may want to limit that within your prompt or instructions. If students aren’t wanting to create a video blog but rather a podcast or audio segment, then they need to select “options” after clicking “Record a Short.”
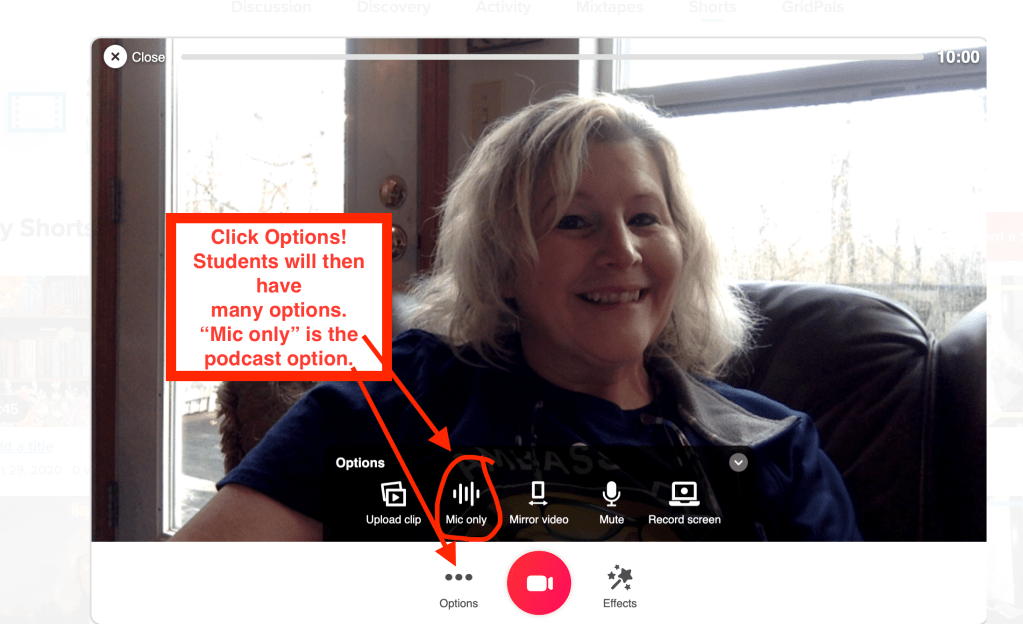
Once they click on “Mic only,” then students are ready to record the audio for their podcast.
Gonna make it right
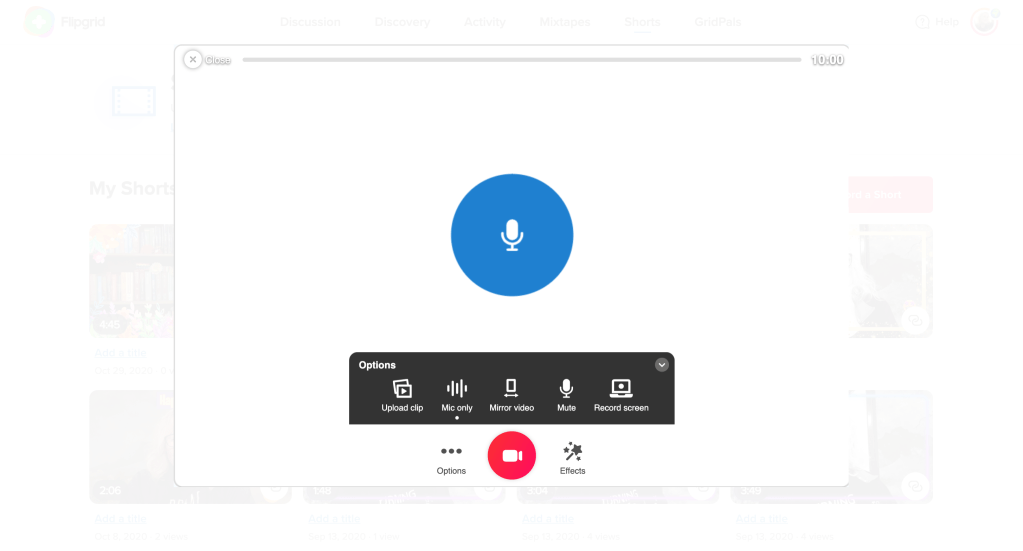
It’s just that easy! Students can now record their voice, their podcast segment, with just the click of the red video record button, but instead of recording a video of the student, it will record the audio as a video with that big blue microphone as the image for the video unless the student changes it by uploading a photo. While Flipgrid allows an audio/video recording of up to 10 minutes, you can limit that within your instructions or by setting up a topic instead of having students use the Flipgrid Shorts. Students using Google Slides will have a few extra steps if using Google Shorts. The audio still downloads as a .mp4 video file. To use with Slides, students will have to download from Flipgrid and then upload to their Google Drive. Once there, students can “Insert” and select “Video” then locate it in their Google Drive.
I’m starting with the man in the mirror
Powerpoint online through Office 365 will let you upload audio, but to insert video, it needs to be linked through YouTube, SlideShare, Vimeo, or Stream. If your students are using the desktop version, then they can record the audio right onto the slide of their presentation or insert it from their files. If they downloaded a Flipgrid Shorts video, then they can insert it from their files also.
I’m asking him to change his ways
That is my in-depth look at how younger students can blog, vlog, or podcast with Buncee, and a brief look at how to use Slides or Powerpoint for that as well. I’ll do a deeper dive into how to accomplish the vlogging and podcasting using those two presentation platforms as a blog site in a separate post. Remember, any effort you put toward empowering students to share their voice, ideas, and personality is well worth it. Our students are worth it.

One thought on “Blogging with Littles! Using Buncee, Google Slides, & Microsoft Powerpoint to Empower Student Voice”